**click photos to enlarge
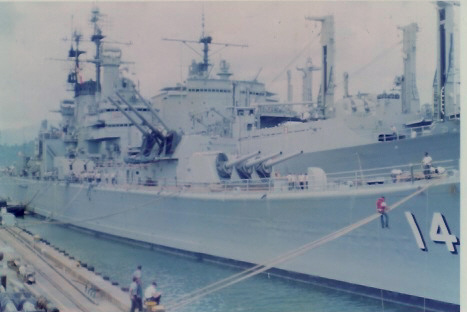
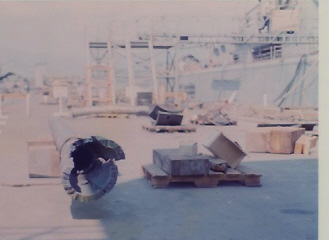
The News ties up at Nabasan Wharf, Subic Bay. This shot is from the main deck of the
USS Piedmont (AD-17)
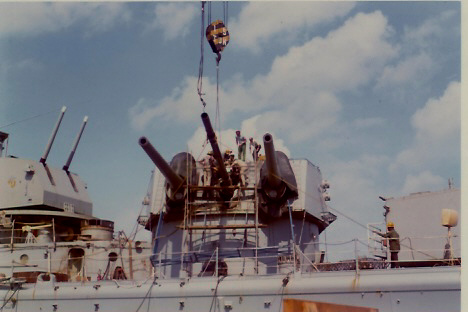
A floating crane has been tied up outboard of the News. The 8" barrel has already been removed from turret II and set on the pier. The rifling is now being rigged for removal.
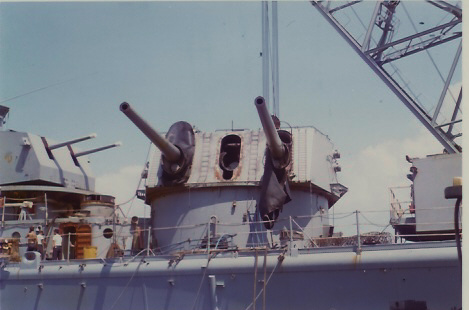
Turret II with her center barrel removed and placed on pier for inspection.

The rifling from the center gun in Turret II. The inbore detonation happened in this area, notice the extensive damage.
End view of the rifling from the center gun in Turret II. The inbore projectile detonation happened in this area.
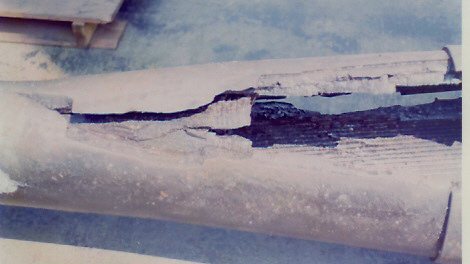
Close-up of the rifling from the center gun in Turret II. There appears to be something wedged inside the rifling. When the rifling split it caused the breech of the barrel to break in half. The barrel slid about two or three feet forward on the rifling. From the pier it looked like the barrel had extruded out of the turret like toothpaste.
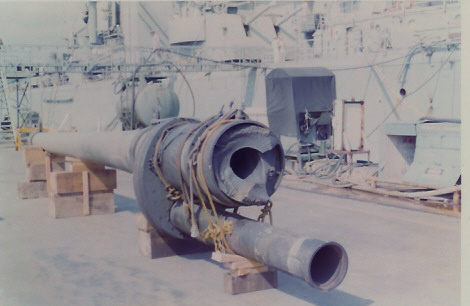
The 8" barrel from Turret II on the pier next to the Newport News. The premature explosion in the barrel snapped the breech in half.
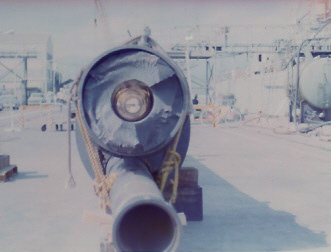
Looking down the barrel. Note that the rifling has already been removed. That means the bore is about 10" in diameter, and the broken breech is about
8" thick